iPhone → Mac, no cloud required

Why sync iPhone recordings to your Mac locally in the first place?
Because your phone is great at capturing, and your Mac is great at processing. The iPhone is the recorder you always have — voice memos, interview audio, lecture snippets, podcast guest takes. The Mac has the RAM, the cooling, and the Neural Engine to run a modern speech-to-text model locally. The catch: Apple's stock path runs everything through iCloud. Voice Memos sync, Photos sync, the Files app pushes uploads to iCloud Drive. That's fine until you don't want it. A medical dictation, a confidential client interview, an unreleased podcast episode — none of those belong on someone else's server. Local sync means audio hops from iPhone to Mac over Bluetooth, Wi-Fi, or a cable, and never touches Apple's servers or anyone else's. Once it's on the Mac, on-device transcription finishes the job without an upload either.What "local" actually means (and what it doesn't)
Method 1: AirDrop — fastest for one-off transfers
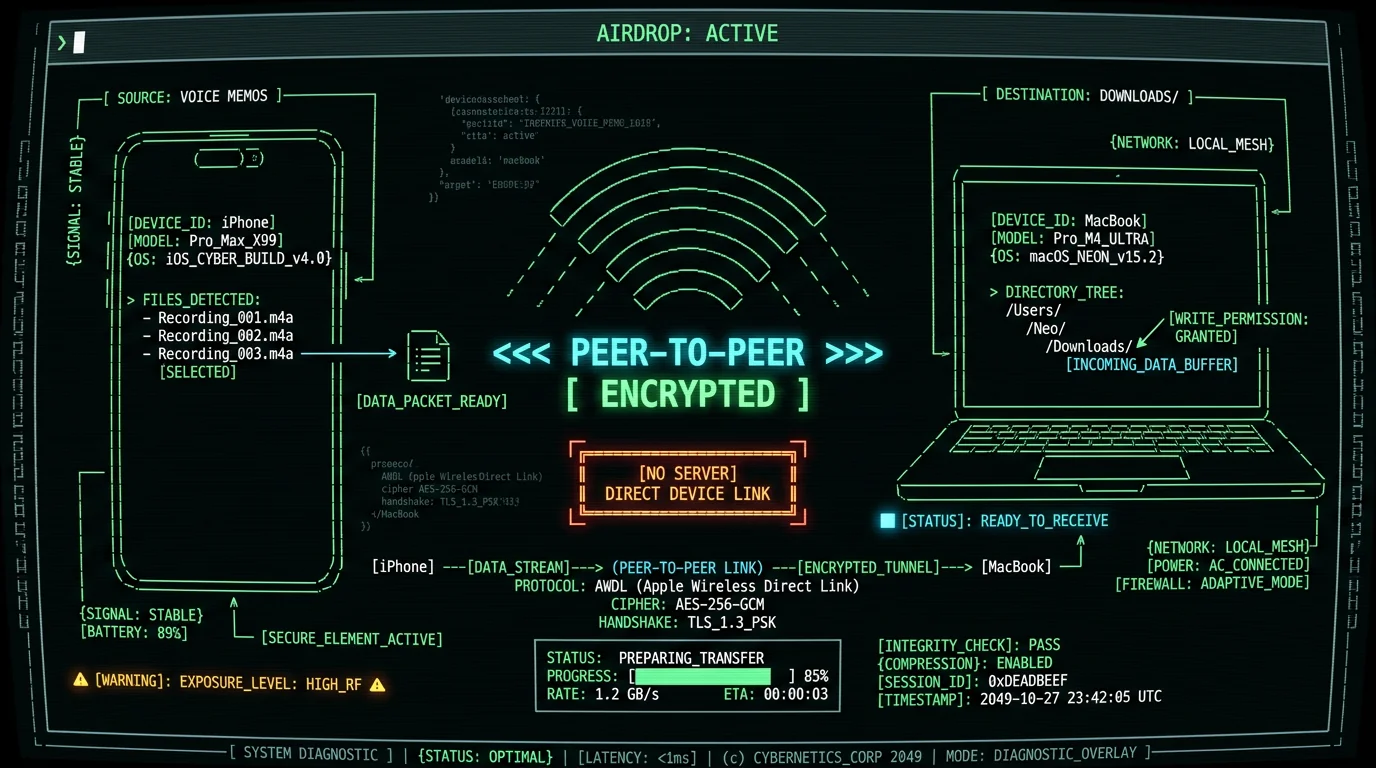
AirDrop is the Apple-native way to push files between iPhone and Mac over Bluetooth + Wi-Fi Direct. No internet, no router, no server. To send a recording:- Open Voice Memos (or Files) on the iPhone.
- Tap the recording you want, hit the share button (square with up-arrow).
- Pick the AirDrop icon, then choose your Mac from the list.
- On the Mac, accept the transfer. The file lands in Downloads by default.
Method 2: The Files app — keeps things organized
The Files app on iPhone can talk to a Mac over the local network via SMB (the same protocol Windows file sharing uses). It's slower to set up than AirDrop but more useful for ongoing sync. Setup on the Mac:- System Settings → General → Sharing → turn on File Sharing.
- Click the info icon next to File Sharing, add a folder you want the iPhone to see (Desktop, Documents, or a new "iPhone Drop" folder).
- Note the smb:// address shown at the bottom — it looks like
smb://192.168.1.42.
- Open Files, tap the three-dot menu in the top-right, choose Connect to Server.
- Enter the smb:// address from your Mac.
- Authenticate with your Mac username and password.
- The shared folder appears as a location in Files. Drop voice memos into it.
Pro tip: Move audio out of Voice Memos into Files first — Voice Memos keeps its own database that's awkward to read directly. Tap a recording in Voice Memos, hit share, "Save to Files", pick your shared folder. Then on the Mac, open the folder in Finder and drop the .m4a into MetaWhisp.
Method 3: Local Wi-Fi share with a third-party app
A handful of apps — LocalSend, KDE Connect, Snapdrop — turn file sharing into a local-network affair. They advertise themselves as "AirDrop for everything" and most of them actually keep the transfer local. LocalSend is the cleanest. It's open-source, available for iPhone and Mac, and uses your local Wi-Fi only — no server in the middle. Install on both devices, give them a moment to discover each other, then drag files across. These apps matter when AirDrop misbehaves (older Macs, mixed networks) or when you want a single tool that also handles Android, Windows, and Linux. For pure iPhone-to-Mac, AirDrop is still simpler.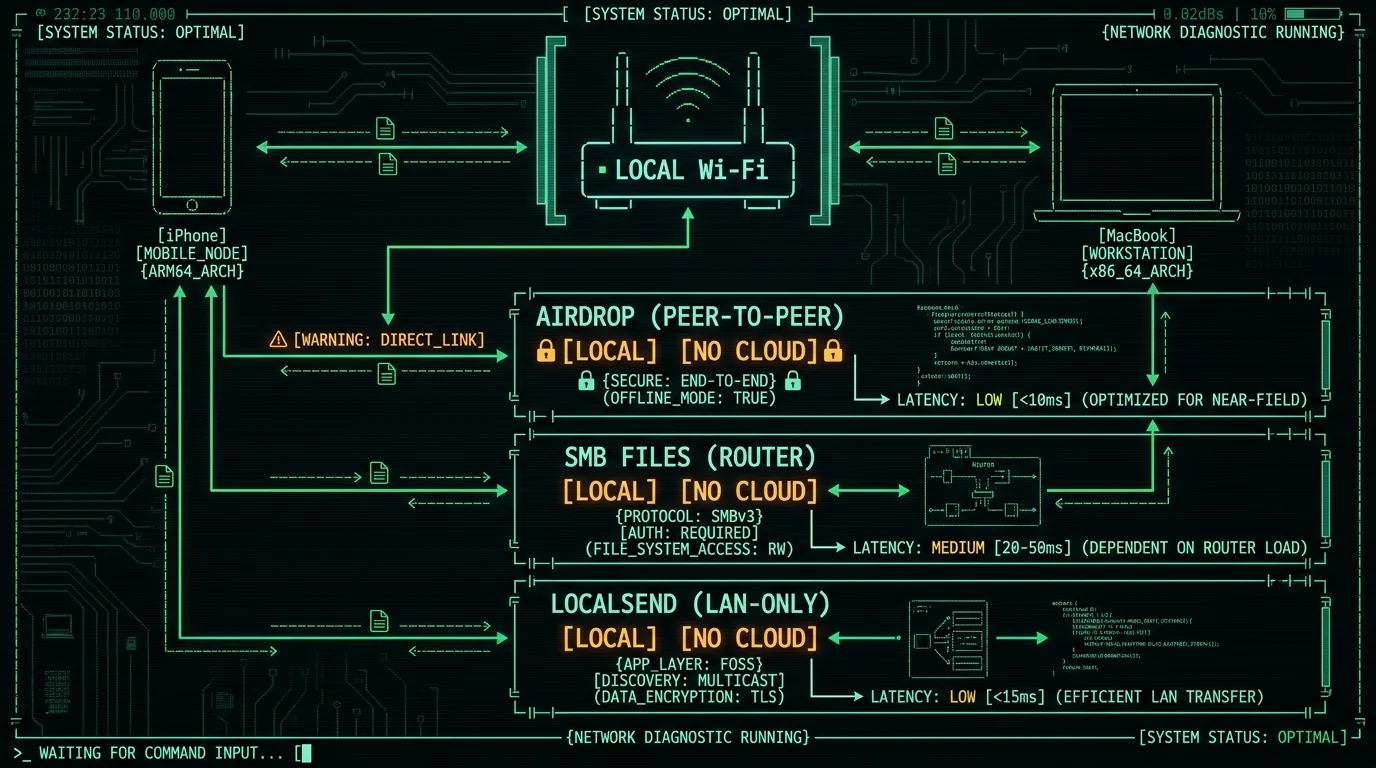
Method 4: USB / Lightning cable transfer
The boring one. Plug the iPhone into the Mac with a cable, open Finder, and the iPhone shows up as a device. You can drag audio files off it the same way you'd drag from a USB stick. The advantage: nothing wireless, nothing to configure, and the transfer is as fast as the cable allows. For a stack of long recordings — an hour-long interview batch, say — cable is the fastest local option. Finder → your iPhone → Files → Voice Memos → drag the .m4a files to a Mac folder. Then run them through MetaWhisp's local transcription.How to transcribe those recordings on Mac with MetaWhisp
Once the .m4a (or .wav, .mp3, .caf) is on your Mac, here's the workflow I run daily:- Download MetaWhisp and install it. Free, no account, macOS 14+ on Apple Silicon.
- Grant microphone and accessibility permissions once.
- Drop your audio file onto the MetaWhisp window, or use the global hotkey (default Right Option ⌥) and dictate.
- The Whisper large-v3-turbo model (~950 MB, one-time download) runs on the Neural Engine. A 30-minute recording transcribes in minutes on an M1 Air.
- Output is a plain transcript. Copy it, save it, paste it anywhere.

| Method | Local? | Setup time | Best for |
|---|---|---|---|
| AirDrop | Yes (peer-to-peer) | None | One-off recordings |
| Files app + SMB | Yes (LAN) | ~5 min, one-time | Daily sync habits |
| LocalSend / KDE Connect | Yes (LAN) | Install on both | Mixed-OS households |
| USB / Lightning | Yes (cable) | None | Large batches |
| iCloud sync | No | Default | Non-sensitive files |
What about an iOS MetaWhisp app?
It's planned. I want one — dictating on the iPhone and having transcripts show up on the Mac without an upload is the obvious next step. The blocker isn't ambition; it's the iOS app size budget (Whisper large-v3-turbo alone is roughly 950 MB, which makes a standalone iOS dictation app awkward to ship through the App Store). Engineering work is in progress, with a target sometime in 2026. Until then, the four-method local sync above is the workaround. It's a few extra taps, but it keeps your audio off third-party servers and your transcripts fully under your control.FAQ
Can AirDrop sync Voice Memos automatically?
No. AirDrop is a manual share — you tap share, pick the device, accept on the other end. There's no "always sync voice memos via AirDrop" toggle. For automatic syncing you'd need iCloud (which is what we're trying to avoid) or a third-party automation like Shortcuts pushing to a local SMB share.
Is AirDrop really private?
AirDrop uses a peer-to-peer Wi-Fi Direct link between the two devices, with the contents encrypted. Apple does not see the transfer. The catch: older AirDrop implementations had known contact-disclosure flaws that security researchers disclosed publicly; Apple has addressed them in subsequent iOS and macOS updates.
What audio formats can MetaWhisp transcribe?
MetaWhisp handles .m4a, .wav, .mp3, .caf, and most other formats Whisper accepts — which is broadly what iPhone Voice Memos produce. For long files, this guide on transcribing .m4a files walks through the workflow in detail.
Does MetaWhisp upload my audio to the cloud?
Not in local mode. Audio stays on your Mac and is processed on the Neural Engine. Cloud features (Pro) are opt-in and clearly labeled — if you stick to local mode or use the free tier with your own API key, your audio never leaves your machine. Pricing details are on the site.
Can I transcribe phone calls from my iPhone this way?
Yes, but it takes two steps. First, record the call — iOS doesn't allow native call recording, so most people use a third-party recording app or a hardware adapter. Then move the audio file to the Mac using any of the four methods above. This guide covers the recording side in detail.
Is local transcription slower than cloud?
On Apple Silicon, no — it's competitive. Whisper large-v3-turbo on an M-series Neural Engine handles 30-minute files quickly, without the network latency cloud round-trips add. The first transcription is slower because the ~950 MB model has to load; subsequent ones are fast.
Will MetaWhisp ever have an iPhone app?
Not today — there is no iOS version. The current best workaround for iPhone recordings is to sync them locally to the Mac (this whole article) and transcribe there.
Do I need a Mac with Apple Silicon?
For MetaWhisp, yes — the local Whisper model runs on the Neural Engine, which is M1 or later. On an Intel Mac, the app falls back to a CPU path that works but is noticeably slower, or you can use the cloud transcription in Pro.
Download MetaWhisp for Mac — free, no account, audio never leaves your machine. Local mode is unlimited. When you're ready for built-in cloud AI without wiring up an API key, Pro is $30/year or $7.77/month and adds cloud transcription.
About the author: Andrew Dyuzhov is the solo founder of MetaWhisp. A marketer-turned-builder with ADHD, he ships Mac apps with AI coding tools and writes most of the MetaWhisp blog using the app itself — first in Russian, then in English. Find him on X.
